
This guide explains web development framework boilerplate in practical, easy-to-apply steps. --- ### Introduction When a team sets out to build a new web application, the first question that surfaces is rarely “Which language should we use? ” The real challenge is “How do we lay a foundation that will keep our code clean, testable, and ready for deployment from day one?
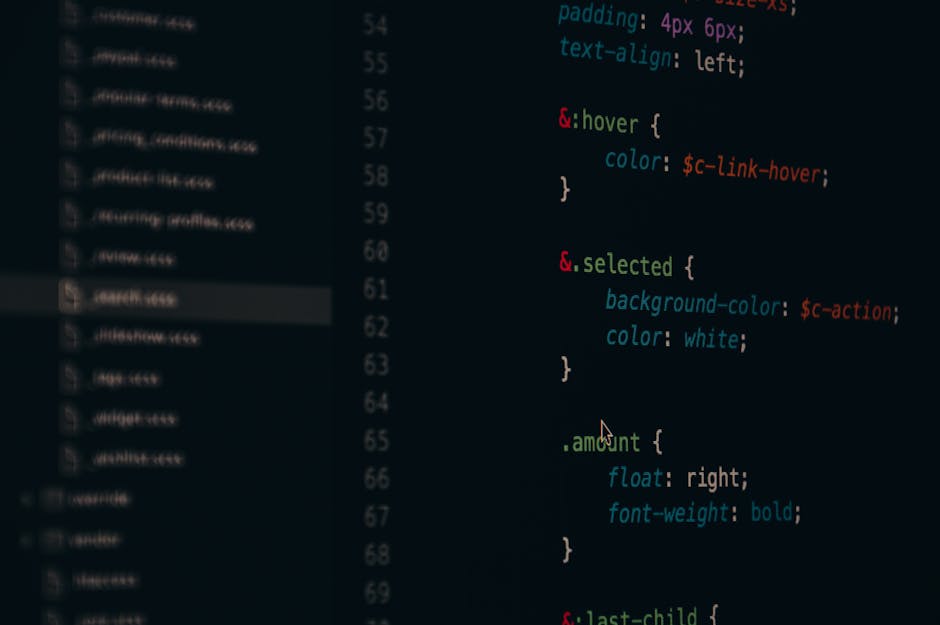
 Web Development Framework Boilerplate" loading="lazy" style="max-width:100%;height:auto;border-radius:8px;">
” A well‑designed starter kit – or boilerplate – answers that question. It delivers a pre‑configured repository that embeds coding conventions, tooling, and best‑practice defaults, allowing developers to focus on business logic instead of repetitive setup tasks.
This guide will walk you through the anatomy of a modern web‑development starter, explain why a thoughtful foundation matters, and provide a step‑by‑step blueprint you can adapt to React, Vue, Angular, Svelte, or any other emerging framework. By the end, you’ll have a concrete checklist to build a starter that scales from a single‑page prototype to a production‑grade application.
--- ## 1. Why a Boilerplate Matters ### 1. 1 Consistency Across Projects A boilerplate enforces a consistent structure across projects. When every repository follows the same layout, developers can quickly locate files, understand where to add new features, and avoid duplicate work.
Consistency also reduces onboarding time for new team members. ### 1. 2 Built‑in Best Practices Modern web development is fraught with pitfalls: unstructured state, insecure data handling, flaky tests, and hard‑to‑maintain build scripts. A starter kit embeds industry‑accepted practices such as linting, formatting, type‑checking, and automated testing.
It also incorporates secure defaults, like CSP headers and safe HTTP methods. ### 1. 3 Faster Time to Value By eliminating the “setup” phase, a boilerplate lets teams focus on delivering features. The initial setup of a project can take days or even weeks; a starter reduces that to a few minutes.
This acceleration is critical in fast‑moving product cycles. --- ## 2. Core Components of a Modern Starter Kit Below is a high‑level view of the components any starter kit should include. You can adjust the list to fit your specific framework and team size.
| Component | Purpose | Typical Tools | |-----------|---------|---------------| |
Project Structure | Logical organization of files | `src/`, `public/`, `tests/` | | Build System | Bundling, transpiling, and asset handling | Vite, Webpack, Rollup | | Linting & Formatting | Code quality enforcement | ESLint, Prettier | | Type System | Compile‑time safety | TypeScript, Flow | | Testing Framework | Unit, integration, and e2e tests | Jest, Vitest, Cypress | | CI/CD Pipeline | Automated testing and deployment | GitHub Actions, GitLab CI | | Package Manager | Dependency management | npm, Yarn, pnpm | | Documentation | Project setup and usage | README, Storybook | | Security | Hardening and vulnerability scanning | Dependabot, Snyk | | Performance| Monitoring and optimization | Lighthouse, Web Vitals | --- ## 3. Step‑by‑Step Blueprint Below is a practical guide to building a starter kit from scratch. We’ll use a generic folder structure that works across frameworks, then show how to tailor it for React and Vue.
### 3. 1 Project Initialization 1.
Create a new repository Use GitHub, GitLab, or Bitbucket. Initialize with a `README.md` and a `.gitignore` for Node. 2. Choose a package manager ```bash npm init -y # or yarn init -y / pnpm init -y ``` 3. Add a `package.json` scripts section```json "scripts": { "dev": "vite", "build": "vite build", "preview": "vite preview", "lint": "eslint . --ext . js,. jsx,. ts,. tsx", "format": "prettier --write ." , "test": "jest" } ``` ### 3. 2 Project Structure ``` my-app/ ├── public/ │ └── index. html ├── src/ │ ├── assets/ │ ├── components/ │ ├── pages/ │ ├── router/ │ ├── store/ │ ├── styles/ │ └── index.
ts ├── tests/ │ ├── unit/ │ └── e2e/ ├── . eslintrc. js ├── . prettierrc ├── tsconfig. json ├── vite. config. ts └── README. md ``` -
`public/` – Static assets and the base `index.html`. - `src/` – Application code, split into logical layers. - `tests/` – Unit and e2e tests. - Root config files– Linting, formatting, TypeScript, and bundler settings. ### 3. 3 Build System: Vite offers fast hot‑module replacement and is framework‑agnostic. ```bash npm install --save-dev vite ``` Create `vite. config. ts`: ```ts import { defineConfig } from 'vite'; import reactRefresh from '@vitejs/plugin-react-refresh'; export default defineConfig({ plugins: [reactRefresh()], build: { outDir: 'dist', sourcemap: true, }, }); ``` For Vue, replace the plugin with `@vitejs/plugin-vue`.
### 3. 4 Linting & Formatting ```bash npm install --save-dev eslint prettier eslint-plugin-react eslint-plugin-vue ``` `. eslintrc. js`: ```js module. exports = { env: { browser: true, es2021: true, jest: true, }, extends: [ 'eslint:recommended', 'plugin:react/recommended', 'plugin:vue/vue3-recommended', 'prettier', ], parserOptions: { ecmaFeatures: { jsx: true }, ecmaVersion: 12, sourceType: 'module', }, plugins: ['react', 'vue'], rules: { // Add custom rules here }, }; ``` `.
prettierrc`: ```json { "singleQuote": true, "trailingComma": "es5", "printWidth": 80 } ``` Add husky hooks: ```bash npx husky install npx husky add . husky/commit-msg 'npx --no-install commitlint --edit "$1"' ``` ### 3. 5 Type System ```bash npm install --save-dev typescript @types/node ``` `tsconfig.
json`: ```json { "compilerOptions": { "target": "esnext", "module": "esnext", "moduleResolution": "node", "jsx": "react-jsx", "strict": true, "esModuleInterop": true, "forceConsistentCasingInFileNames": true, "skipLibCheck": true, "outDir": ". /dist" }, "include": ["src/**/*"], "exclude": ["node_modules", "dist"] } ``` For Vue, set `"jsx": "preserve"` and add `@vue/runtime-dom`.
### 3. 6 Testing Framework #### Unit Tests with Jest ```bash npm install --save-dev jest ts-jest @types/jest npx ts-jest config:init ``` `jest. config. js`: ```js module. exports = { preset: 'ts-jest', testEnvironment: 'jsdom', moduleFileExtensions: ['ts', 'tsx', 'js', 'jsx', 'json', 'node'], transform: { '^.
+\\. (ts|tsx)$': 'ts-jest', }, testPathIgnorePatterns: ['/node_modules/', '/dist/'], }; ``` #### End‑to‑End Tests with Cypress ```bash npm install --save-dev cypress npx cypress open ``` Add a `cypress/` folder with integration tests. ### 3. 7 Continuous Integration A simple GitHub Actions workflow (`.
github/workflows/ci. yml`): ```yaml name: CI on: push: branches: [ main ] pull_request: branches: [ main ] jobs: build: runs-on: ubuntu-latest strategy: matrix: node-version: [18. x] steps: - uses: actions/checkout@v3 - name: Use Node. js uses: actions/setup-node@v3 with: node-version: ${{ matrix.
node-version }} - run: npm ci - run: npm run lint - run: npm test - run: npm run build ``` Add Dependabot for dependency updates: ```yaml version: 2 updates: - package- : npm directory: / schedule: interval: daily ``` ### 3. 8 Security Hardening -
CSP: Add meta tags or HTTP headers. - Helmet (Node backend): `npm install helmet`. - Snyk: `npm install -g snyk` and run `snyk test`. ### 3.9 Documentation - README.md: Overview, setup, scripts, contribution guide. - Storybook: `npx sb init` to document UI components. - API docs: Use typedoc or JSDoc. ### 3.10 Performance Monitoring - Lighthouse: Run in CI to catch regressions. - Web Vitals: Add a small script in `index. ts` to log metrics. --- ## 4. Tailoring the Starter to Specific Frameworks Below are quick adjustments for popular frameworks. ### 4. 1 React - Install React and React DOM: `npm install react react-dom`. - Update Vite config plugin: `@vitejs/plugin-react`.
- Add a `src/App. tsx` component and render it in `index. ts`. ### 4. 2 Vue 3 - Install Vue: `npm install vue@next`. - Use Vite plugin: `@vitejs/plugin-vue`. - Create `src/main. ts` that mounts the app. ### 4. 3 Angular has its own CLI and build system, so the starter would use `@angular/cli`.
However, the same principles apply: linting, testing, CI, and documentation. ### 4. 4 Svelte - Install Svelte: `npm install svelte`. - Vite plugin: `@sveltejs/vite-plugin-svelte`. - Add a `src/App. svelte` component. --- ## 5. Checklist: Building Your Starter | Step | Action | Tool | |------|--------|------| | 1 | Create repo, init `package.
json` | Git, npm | | 2 | Install Vite, TypeScript, ESLint, Prettier | Vite, TypeScript, ESLint, Prettier | | 3 | Add Jest, Cypress | Jest, Cypress | | 4 | Configure GitHub Actions | GitHub Actions | | 5 | Add Dependabot | Dependabot | | 6 | Set up security tools | Helmet, Snyk | | 7 | Write README, docs, Storybook | Markdown, Storybook | | 8 | Run Lighthouse in CI | Lighthouse | --- ## 6.
Common Pitfalls and How to Avoid Them | Pitfall | Explanation | Mitigation | |---------|-------------|------------| |
Over‑engineering | Adding too many plugins or layers. | Start minimal; add only what is required. | | Ignoring type safety | Using plain JavaScript in a TypeScript project. | Enforce `strict` in `tsconfig.json`. | | Skipping tests | No automated tests lead to regressions. | Write tests for critical paths early. | | Hard‑coded paths | Hard‑coding URLs or API endpoints. | Use environment variables. | | No linting | Code quality drifts. | Run linting in CI. | --- ## 7. Scaling the Starter Once the starter is in place, you can scale it in several ways: 1. Monorepo – Use tools like Nx or Turborepo to manage multiple packages. 2. Feature Toggles – Add a configuration layer for enabling/disabling features. 3. Internationalization – Integrate i18n libraries (react-i18next, vue-i18n). 4. Accessibility Audits – Add axe-core to CI to catch accessibility issues. 5. Performance Budgets – Enforce size limits on bundles via webpack or Vite plugins. --- ## 8. Conclusion A well‑crafted boilerplate is more than a set of files; it is a foundation that promotes consistency, quality, and speed. By embedding best practices, automated testing, CI/CD, and security hardening, a starter kit reduces friction for developers and accelerates time to market. Whether you’re building a single‑page application or a full‑stack platform, the principles outlined above will help you create a starter that grows with your product and your team. Happy coding, and may your new projects launch faster and smoother than ever before.Frequently Asked Questions About Web Development Framework Boilerplate
What is Web Development Framework Boilerplate?
Web Development Framework Boilerplate is best understood as a practical, results-focused subject. Start with the fundamentals covered , apply them consistently, and measure your progress with real data over time.
How do beginners get started with Web Development Framework Boilerplate?
Beginners should focus on one clear goal, follow a proven step-by-step routine, avoid the common beginner mistakes listed above, and build a simple daily or weekly habit around web development framework boilerplate.
What results can you realistically expect?
With consistent effort, most people see early progress within a few weeks. The key is choosing the right strategy, tracking what actually works, and improving steadily instead of chasing quick fixes.
Comments
Post a Comment